
Deleting files does not remove data. Neither does a quick format, and on a solid state drive, even a full overwrite can leave data behind. If a drive is leaving your hands — sold, returned, recycled, donated — deletion is not enough. Here is how to securely erase an SSD so the data is actually gone, and why the usual methods fail.
Why overwriting an SSD isn’t enough
On a mechanical hard drive, writing over a sector replaces what was there. Flash storage doesn’t work that way. An SSD’s controller constantly remaps writes across the flash for wear leveling. Every drive also ships with spare capacity — over-provisioned cells — that the operating system cannot address at all. When you “overwrite everything,” the controller may write your zeros somewhere new and quietly retire the cells still holding your data. Software running through the filesystem can never prove it reached every cell. To securely erase an SSD, you have to go below the filesystem.
Secure Erase and NVMe Sanitize: the commands that reach everything
Drive manufacturers build sanitization into the firmware itself, below the filesystem and below the controller’s remapping games. SATA drives implement ATA Secure Erase (and Enhanced Secure Erase). NVMe drives implement Format NVM and the stronger Sanitize command set. Self-encrypting drives can perform a cryptographic erase, destroying the encryption key so every cell becomes unreadable ciphertext in seconds. These commands instruct the drive to purge its entire capacity — including the spare areas no software can see.
“Clear” versus “Purge” — the distinction that matters
NIST Special Publication 800-88, the reference standard for media sanitization, draws the line plainly. Clear means overwriting through standard interfaces — adequate when the drive stays in your control. Purge means techniques like the firmware commands above, which defeat laboratory-grade recovery. That is the bar when a drive leaves your control. If a drive is going to someone else, Purge is the bar.
Securely erase an SSD with Parted Magic
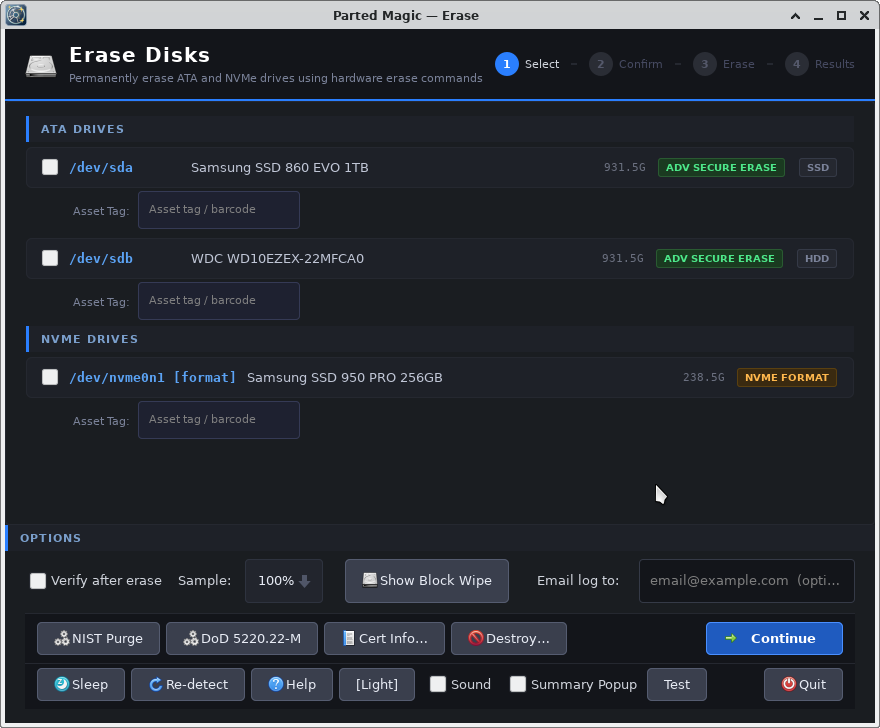
Parted Magic boots from a USB stick and runs entirely in memory. Nothing installs, and it never touches the host system. The Secure Erase tool detects every attached drive, picks the correct firmware method for each one (ATA Secure Erase, NVMe Sanitize, or crypto erase), runs the purge, and verifies it. It then issues a NIST SP 800-88r2 Purge certificate for every drive — a signed record of the drive, the method, and the time. Writing the USB stick takes a few minutes; the installation guide covers Windows, macOS, and Linux step by step.
One license covers as many machines and drives as you need. Details are on the store page, and more on the erase tooling is on the Erase page.